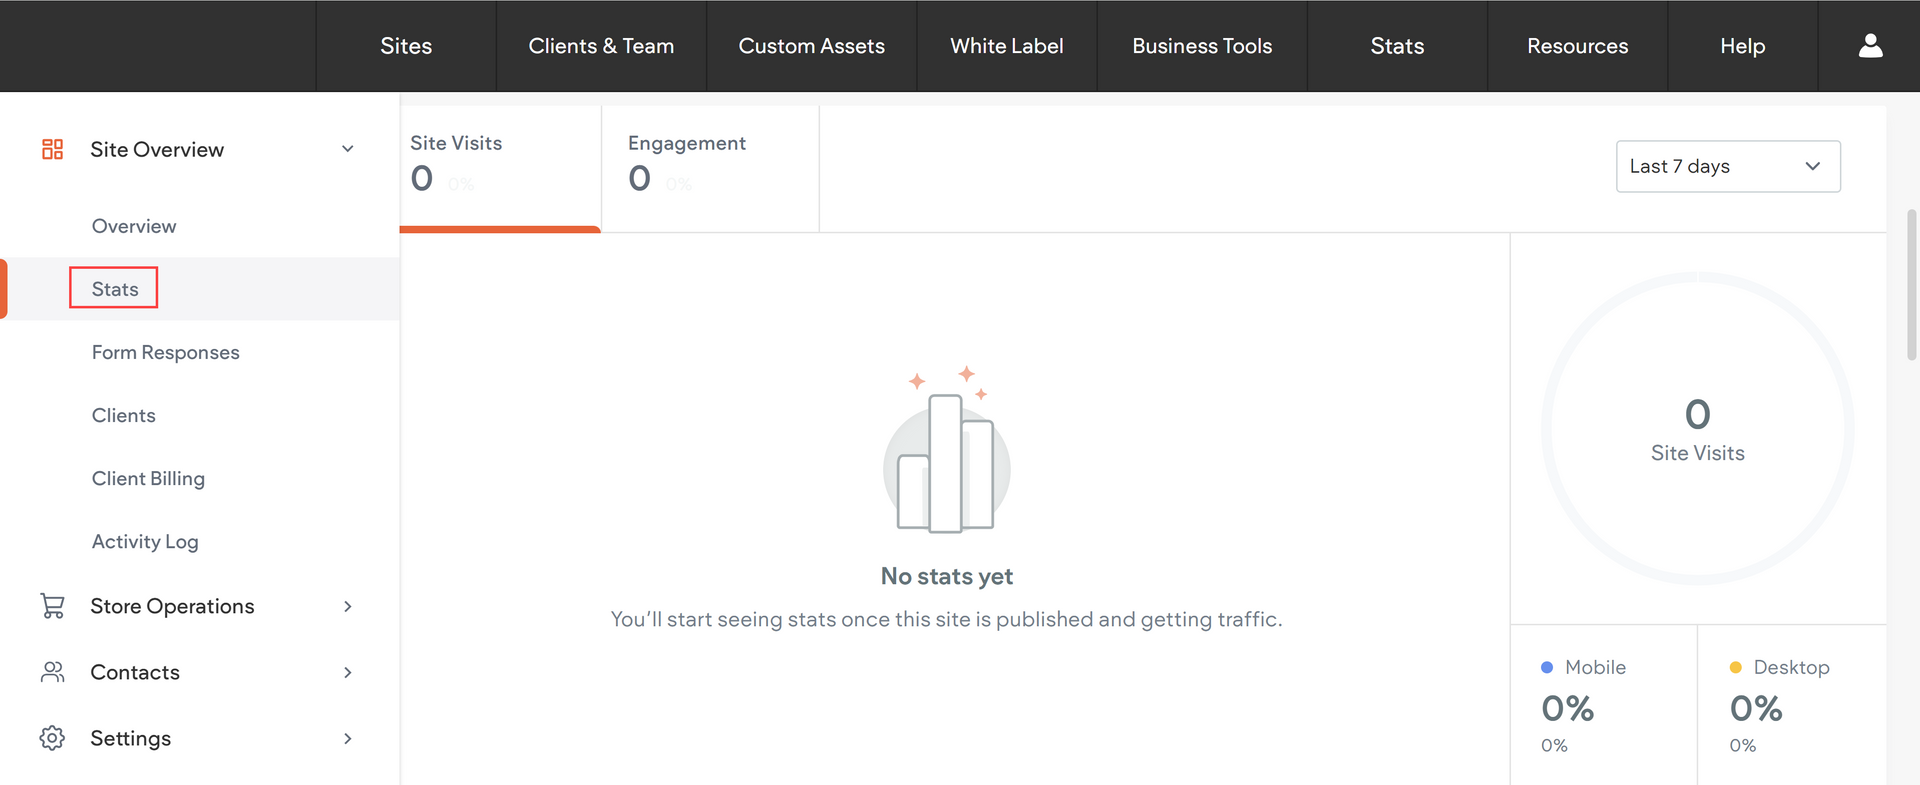
The Site Dashboard is your central location to view and manage an individual site. What you see in the side panel will depend on the features added to the site and the status of it, for example if your site does not have membership, you will not see the membership section.
Next to the site, click the Dashboard icon (![]() ) to see general information about the site.
) to see general information about the site.

*Only display changes made after December 29, 2020.
Membership
Site Members
To manage the members on your site, click Site Members. To remove a member from the list, click the settings
( ) icon next to the member, and click
Remove Member. To download a list of members, click Export to CSV.
) icon next to the member, and click
Remove Member. To download a list of members, click Export to CSV.
Membership Plans
Create membership plans to offer access to exclusive content on your site.
Membership Settings
To configure who can sign up for the page as a member, click Membership Settings, and select Everyone or Only people approved manually.
If you select Only people approved manually, click Member Requests Recipients to configure who receives member requests by email and are able to approve or deny them.
SEO
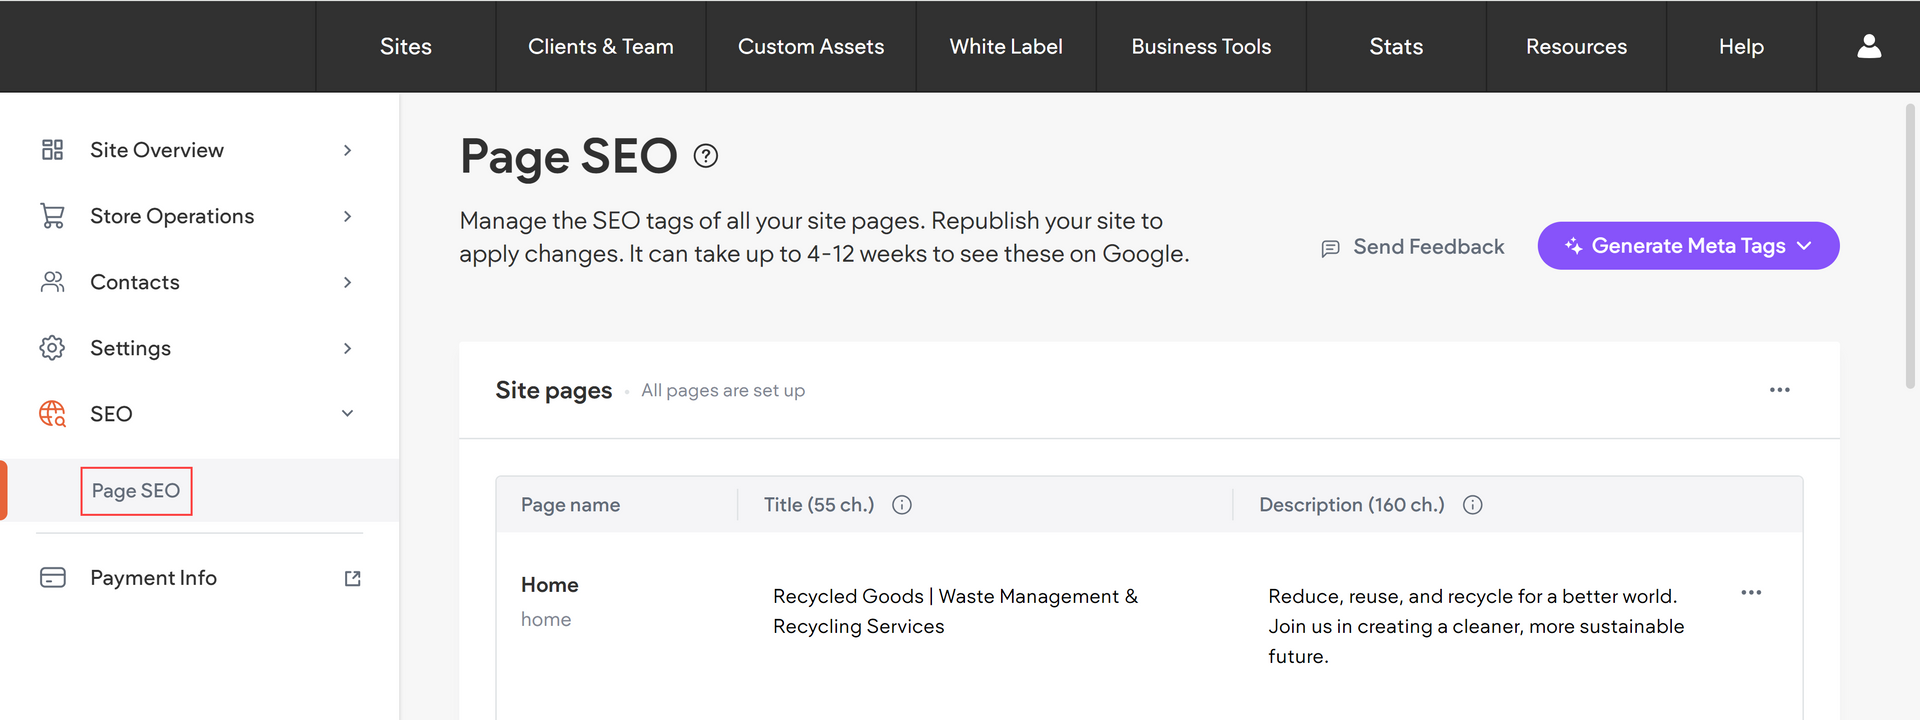
Page SEO
Add and manage the meta title and description tags of all your site pages in one place. To make your changes live, republish your site when you're ready.
To edit a tag for a page, click into the desired field.
Note
- Fields that are connected to data will be disabled.
- Not all pages will be available here; for example, dynamic pages.
Context Menus
Actions that are available in the main context menu are:
- Edit other languages. Will only be visible if the site has the multi language tool configured. After selecting, a dropdown menu will appear with the site’s languages.
- Clear all pages’ tags. This action will delete all tags from all pages.
To open the main context menu, click on the three horizontal dots () at the top of the Page Info box.
Actions that available in the page level context menu are:
- Go to page. Selecting this will open the editor to the page in a new tab.
- Clear existing tags. This will clear the tags for the page.
To open the context menu for a specific page, click on the three horizontal dots () located in its row.
Navigate to Pages Info from the Editor
To navigate to Pages info from the editor:
- Click on Pages.
- Click the settings () icon for a page.
- Select SEO from the menu.
- Click All Pages’ SEO.
Image Alt text
View and manage the alt text of all the images used on your site for better SEO and accessibility. Republish your site to apply changes. For more information, see View the ALT Text for All Images.
Manage Blog
Manage your blog posts. For more information, see Manage Post Settings.